Building FastAPI Application in Python

Building FastAPI Appication in Python

Building FastAPI is significant in modern, efficient, and scalable web applications and APIs that are current trends in web development. FastAPI Python integration provides a powerful environment that builds high-performance applications, especially when handling many requests. To build a FastAPI application as a beginner involves several straightforward steps. First, ensure Python is installed on your system and create a virtual environment for project isolation. Install FastAPI, Uvicorn, and begin your application via importing FastAPI and creating an instance of the FastAPI class. This instance is the main point of application.

Here is the step-by-step guide to initiate the connection with Fast API and

 run the application:

Step 1: Setup Virtual Environment:

We have already posted how to set up your Fast API virtual environment. For details please visit and build the Fast API virtual environment. If you have not created yet.

C:\Users\zakir\Documents\Kaibot> python -m venv fastapienv

To activate the virtual environment:

C:\Users\zakir\Documents\KaiBot>fastapienv\Scripts\activate.bat

(fastapienv) C:\Users\zakir\Documents\KaiBot>

step 2: Install FastAPI & Uvicorn

We have created our virtual environment, now time to open up our directory of Fast API, and let’s create our first fast API application and API endpoint. Let’s go to our directory where we created that fast API and where we have our fast API environment inside. Make sure we have our Fast API directory and Python 3.11 or whatever newest Python version you have. Now, we have a Fast API environment working on our IDE.

(fastapienv) C:\Users\zakir\Documents\KaiBot>pip install fastapi uvicorn
 

(fastapienv) C:\Users\zakir\Documents\KaiBot>pip install fastapi uvicorn

step 3: Create a Fast API Application

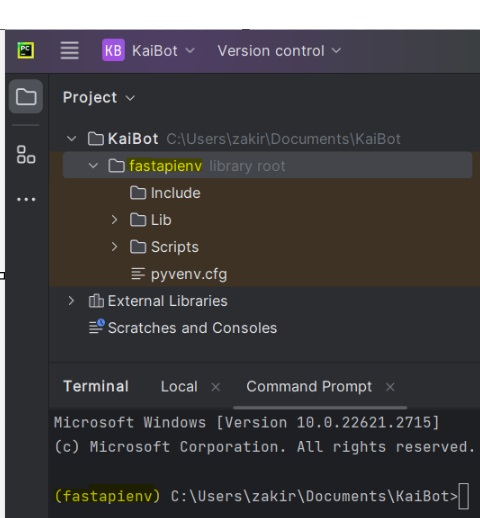
Create a Python file i.e. main.py and write a simple Fast API application:

from fastapi import FastAPI

app = FastAPI()

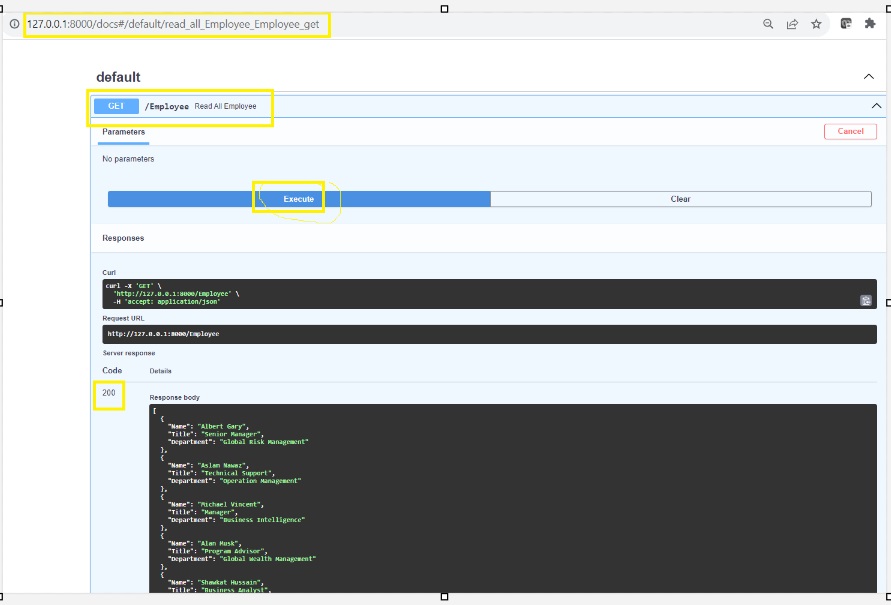
Employee = [{“Name”: “Albert Gary”, “Title”: ” Senior Manager”, “Department”: “Global Risk Management”},{“Name”: “Aslam Nawaz”, “Title”: “Technical Support”, “Department”: “Operation Management”},{“Name”: “Michael Vincent”, “Title”: “Manager”, “Department”: “Business Intelligence”},{“Name”: “Alan Musk”, “Title”: “Program Advisor”, “Department”: “Global Wealth Management”},{“Name”: “Shawkat Hussain”, “Title”: “Business Analyst”, “Department”: “Global Wealth Management”} ]

@app.get(“/Employee”)

async def read_all_Employee():   return Employee

Step 4: Run the application:

To start we want our API endpoint to return a list of Employees and create the list of employees above. So let’s go ahead and open up our terminal:

(fastapienv) PS C:\Users\zakir\Documents\KaiBot> uvicorn main:app –reload

The –reload flag makes the server restart after code changes. This is useful during development but should be omitted in a production environment.

Step 5: Access the application:

Once the server is running, we can access our APPI at (http://127.0.0.1:8000/Employee) and here we can see the application successfully captured all the employee information that we added to our application. 

Now, this is not that pretty, and it’s kind of hard to read, but Fast API has something called Swagger that’s automatically implemented with Fast API in Swagger will allow us to see all of our API endpoints. FastAPI generates interactive API documentation for your routes, which you can access at http://127.0.0.1:8000/docs. We’ll see that we are in our swagger UI. We can open it up and click on try it and click execute. we can see that our API took no parameters and here is the response from our fast API application where we have a list of all five employees in our application that our API is returning. Now, some things that we want to point out in Swagger is it’s going to tell us our response, which is a 200 status code means everything was successful.

Step 6: Conclusion:

FastAPI is a powerful tool for creating APIs in Python, and it’s relatively straightforward to set up and use. The examples provided here are very basic, and FastAPI offers much more functionality, including request validation, dependency injection, and security utilities. For more advanced use cases, you should refer to the official FastAPI documentation.

Leave a Comment

Your email address will not be published. Required fields are marked *